Quick Start
Step 1: Install
- Open VS Code and go to the Extensions panel (
Cmd+Shift+X/Ctrl+Shift+X). - Search for Shader Studio and click Install.
Or install directly from the VS Code Marketplace.
Step 2: Create a Shader
Open an existing .glsl file, or create a new one and write a mainImage function. If you want a head start, click the ![]() Shader Studio icon in the status bar and choose New Shader, or open the Command Palette (
Shader Studio icon in the status bar and choose New Shader, or open the Command Palette (Cmd+Shift+P / Ctrl+Shift+P) and run Shader Studio: New Shader to generate a template.
Step 3: Write Your Shader
Shader Studio runs Shadertoy-style shaders. Your shader needs a mainImage function. If you created your shader with the New Shader button, you should see something like this:
void mainImage( out vec4 fragColor, in vec2 fragCoord )
{
    // Normalized pixel coordinates (from 0 to 1)
    vec2 uv = fragCoord/iResolution.xy;

    // Time varying pixel color
    vec3 col = 0.5 + 0.5*cos(iTime+uv.xyx+vec3(0,2,4));

    // Output to screen
    fragColor = vec4(col,1.0);
}
New to shaders or Shadertoy?
A shader is a small program that runs on your GPU. Instead of looping over pixels in code, the GPU runs mainImage once per pixel, in parallel, every frame.
The code above breaks down like this:
fragCoord— the current pixel's position on screen in pixelsiResolution— the canvas size; dividing givesuv, a 0–1 position across the screenfragColor— the color you output, asvec4(red, green, blue, alpha)where each channel is 0–1iTime— seconds elapsed since the shader started, useful for animation
Shader Studio also provides iMouse (mouse position) and other uniforms that match the Shadertoy API, so shaders from that site will generally work here too.
Watch this video by The Art of Code for a good beginner's introduction.
The Preview
Click the ![]() Shader Studio icon in the status bar and choose Open Panel (or Open Window for a separate window) to see your shader running.
Shader Studio icon in the status bar and choose Open Panel (or Open Window for a separate window) to see your shader running.
Once open, you should see a live preview — either as a panel docked inside VS Code or as a separate window.
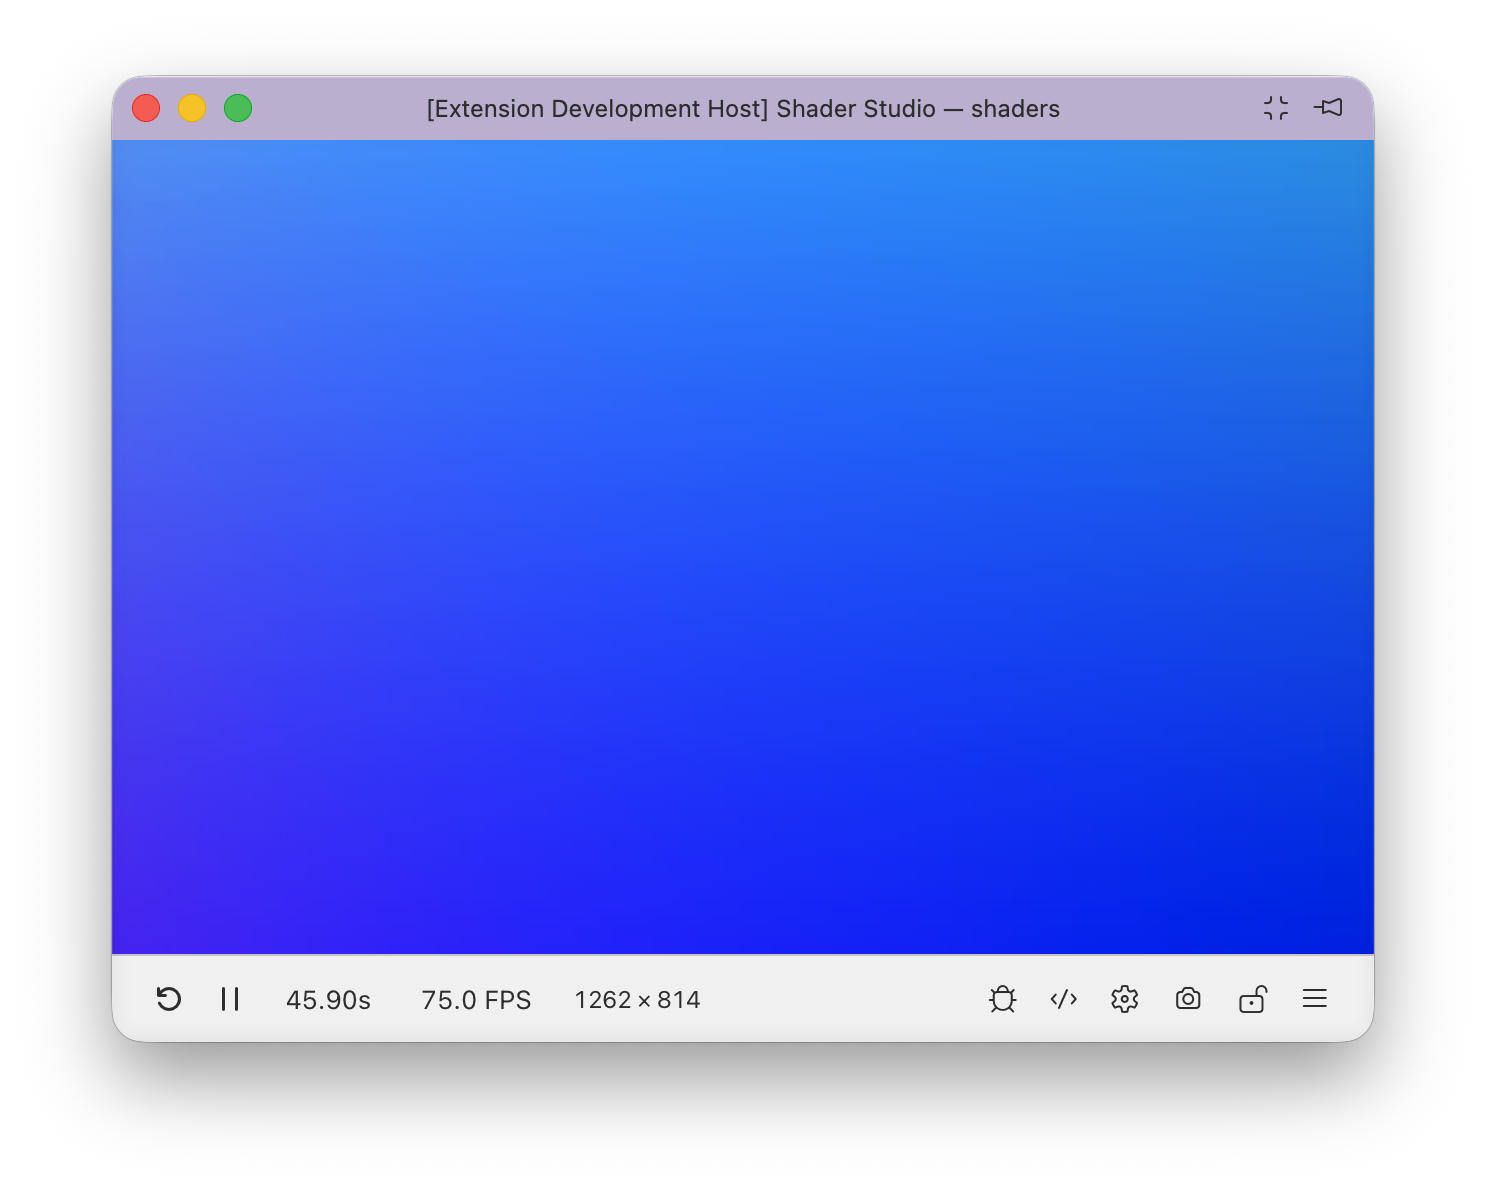
The preview updates in real time as you edit. The toolbar at the bottom gives quick access to every feature:
- Reset — restart the shader and reset time-dependent state
- / Play/Pause — freeze or resume animation
- Time — scrub, loop, and control playback speed
- FPS — click to set frame rate limit or open Frame Times
- Resolution — click to change scale, aspect ratio, zoom, or set a custom resolution
- Debug — enable line-by-line visual debugging
- Editor — toggle inline code editing overlay
- Config — set up buffers, inputs, and uniforms
- Record — take a screenshot or record video/GIF
- Lock — keep the preview pinned to the current shader while you navigate other files
- Menu — access more options like shader explorer, snippet library, compile modes, browser preview, and settings
Try pausing time, changing the resolution, or opening the menu to explore more options and see their effects.
If you opened the preview as a panel, you can drag its tab to rearrange it alongside other Shader Studio panels (Debug, Config, Performance), split it to an edge, or resize by dragging the sash. The layout saves automatically.
See Panel Layout for more.
Step 5: Make Changes
Edit your shader and watch the preview update in real time. By default, Shader Studio uses Hot compile mode — the shader recompiles on every keystroke.
If you prefer more control, open the Menu and change the Compile Mode:
| Mode | When it compiles |
|---|---|
| Hot | On every keystroke (default) |
| Save | Only when you save the file |
| Manual | Only when you press Ctrl+Enter or click Compile Now |
Step 6: Setup Channels and Buffers
Click the Config button in the toolbar to set up buffer passes, input channels, and uniforms for your shader. Configuration is stored in a .sha.json file (e.g. myshader.glsl → myshader.sha.json) that's generated automatically when needed.
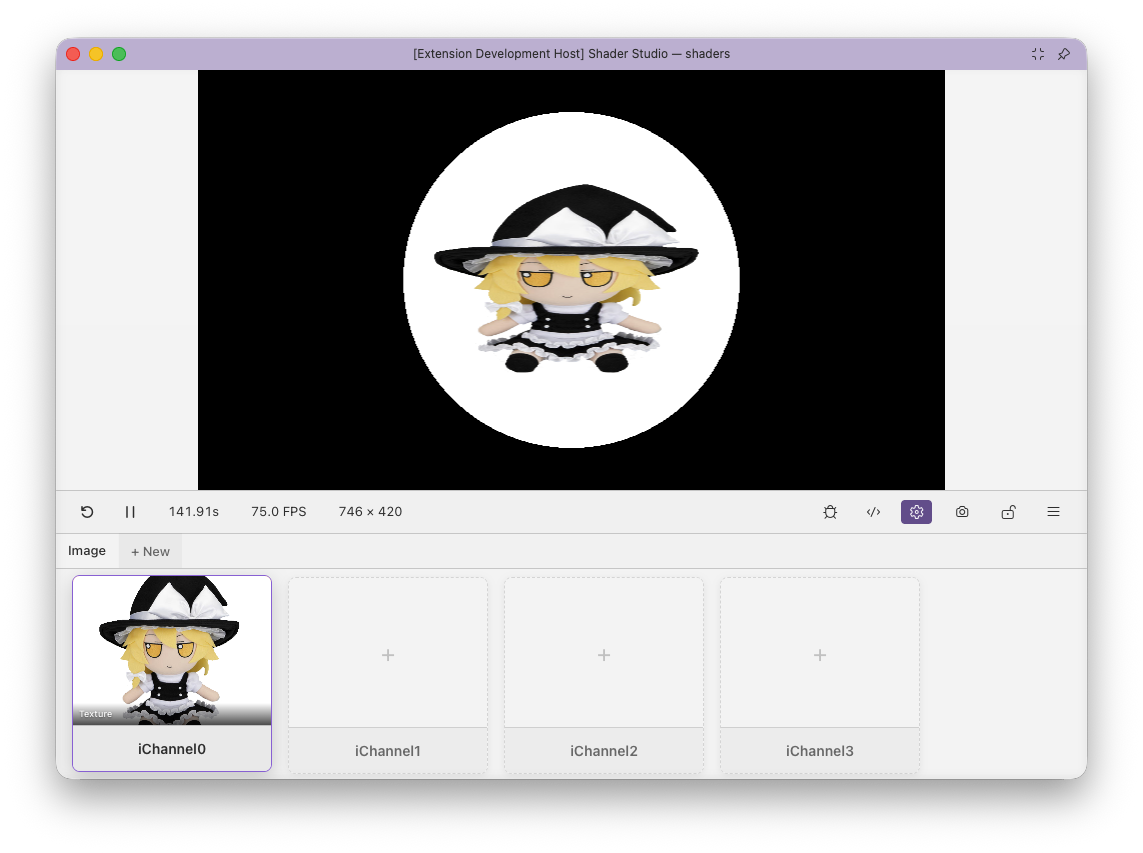 Example: a texture assigned to
 iChannel0, available in the shader as sampler2D iChannel0.
To add a texture, drop an image into your workspace, click the + on an empty channel slot, and select it from the file picker:

If the image was just added, you may need to click the reload button in the picker for it to appear. Press Close when done.
Once a texture is bound to iChannel0, you can sample it in your shader:
void mainImage(out vec4 fragColor, in vec2 fragCoord) {
    vec2 uv = fragCoord / iResolution.xy;
    vec4 tex = texture(iChannel0, uv);
    fragColor = tex;
}
See Configure Buffers and Inputs for the full guide.
Keep the Shader Active While Editing Buffers
Locking is an important feature when working with multi-buffer shaders. Opening a buffer file will switch the preview to that buffer — use the Lock button to keep the preview pinned to a specific shader while you navigate between buffer files to edit them.
See Locking for more info.
Next
- Setup Channels and Buffers — configure buffer passes, inputs, and uniforms
- Debugging Overview — learn how to use debug mode to visualize shader variables